My
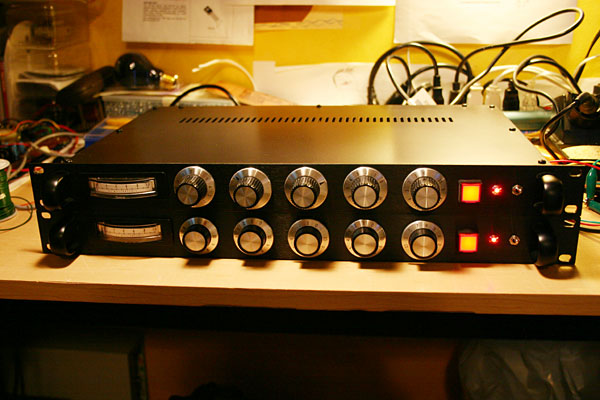
DIY Pages Completed project. Tidy and clean.
More pics! I built a 2nd SSL unit. They're too good not to build.
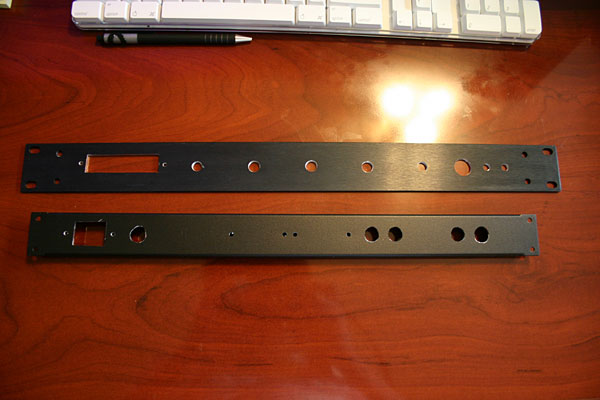
Drilling holes and cuttng square holes for the front and back panel.
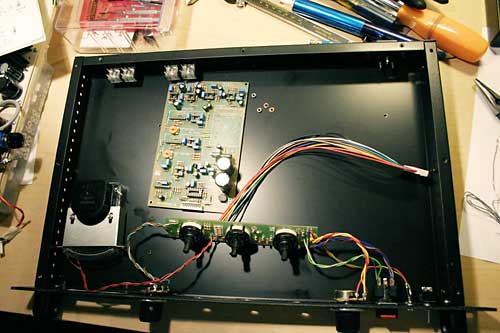
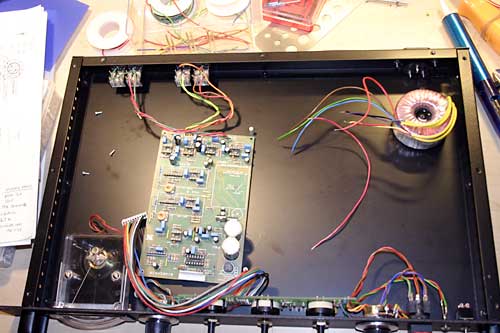
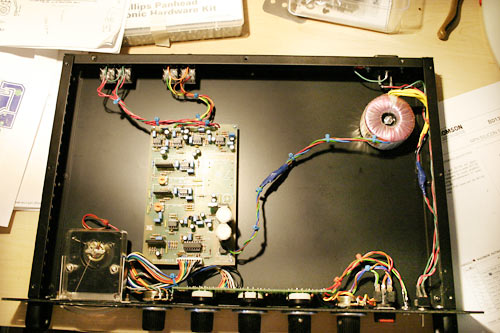
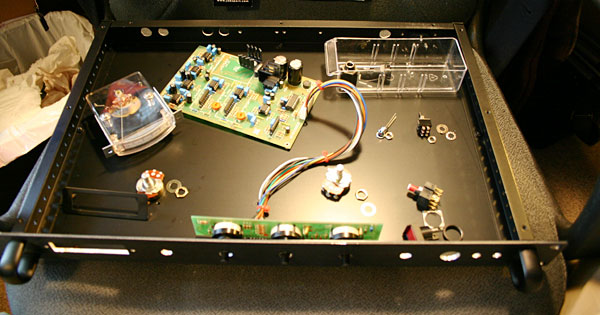
Wiring the guts of the SSL compressor. Connect the meters, knobs, switches, LED lights, jacks, fuse holders, AC receptacles, etc...
My SSL#1 and SSL#2. Guess which one is which???? I used a digital caliper to make sure the locations of the holes on the 2nd unit matches the locations on my first unit. Measure twice, drill once. Audio Clips Some audio clips. I did some rough testing using an oscilloscope. It's nice to "see" how compression works. Depending on the setting of the Ratio, Attack and Release, you can see how further increasing the input signal shows only a slight increase in the output signal at some threshold level. Also, varying the gain of the input signal, you can see how slow or fast the output signal "follows" the input signal, and how "slow or fast" it reacts. http://www.fivefish.net/diy/ssl4000compressor/audio/sslcompressorsample.mp3 0sec to 15sec : Uncompressed 15sec to 28sec: Compressed 28sec to end: Uncompressed Notice that the "compressed" clip sounds thicker and bigger than the uncompressed clip. Bottomline: The unit works, and it sounds great too. |